Garlic Parmesan Cheeseburger Bombs are my answer to those nights when everyone’s hungry, nobody wants a boring sandwich, and I still need something that feels fun. You get that classic cheeseburger vibe, but wrapped up in a warm, golden bite that’s brushed with garlicky butter and showered with cheesy Parmesan. The first time I made these, I planned on “testing one” and accidentally ate three while standing at the counter. They’re easy enough for a weeknight, but they also feel like a party snack. If you love melty cheese and buttery garlic flavor, you’re in the right place.
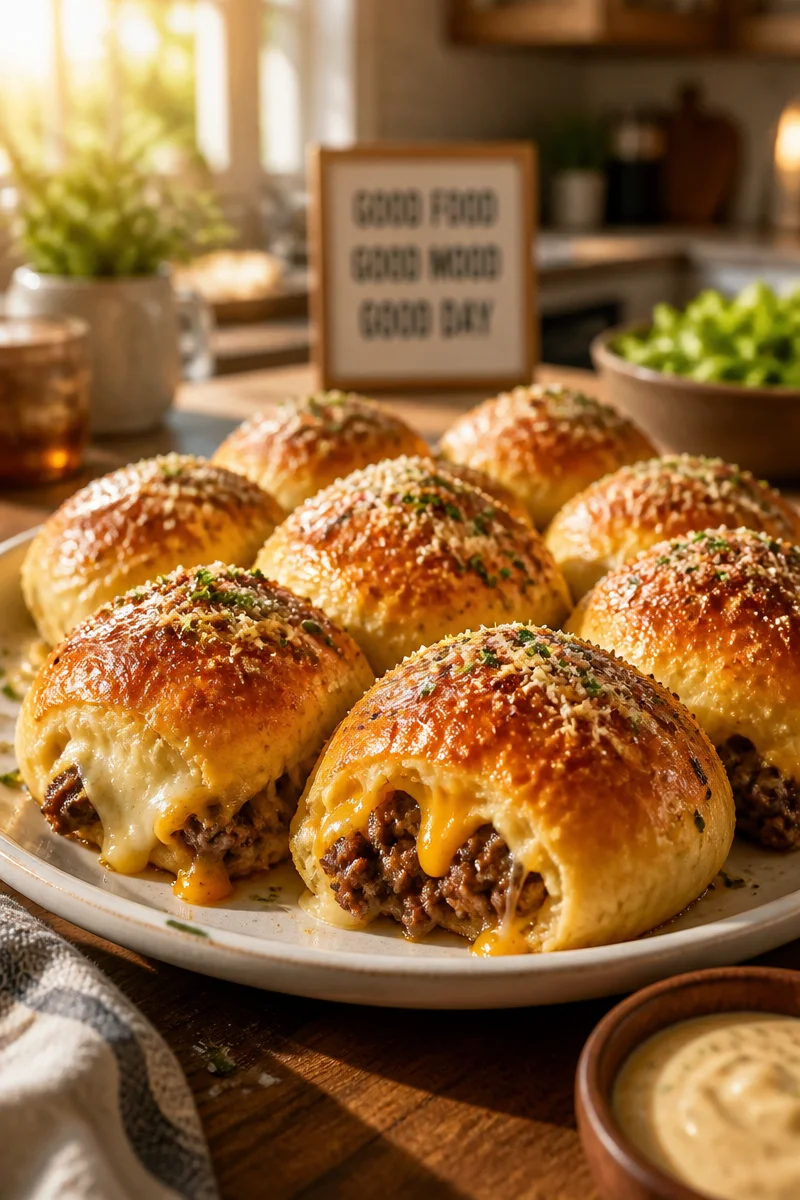
Table of Contents
What Are Garlic Parmesan Cheeseburger Bombs?
Think of these as little handheld pockets of happiness. They’re basically seasoned ground beef and gooey cheese wrapped in dough, baked until puffy, then finished with a buttery garlic Parmesan topping.
I like them because they hit all the good parts of a cheeseburger without needing buns, plates, or a grill. They’re tidy enough for kids, snacky enough for game day, and honestly kind of dangerous if you’re the type who keeps “just checking” the pan.
Even better, Garlic Parmesan Cheeseburger Bombs are forgiving. If your folds look a little messy, nobody will notice once the tops are golden and the kitchen smells like garlic bread.
Why You’ll Love This Recipe
There are a lot of reasons this one stays in my repeat folder, but here’s the real-life version.
First, it’s simple. You don’t need fancy tools or chef skills. If you can brown beef and pinch dough closed, you’ve got it.
Second, the flavor is big. Between the seasoned meat, the melty cheese, and that buttery topping, each bite is cozy and savory in the best way.
Third, it’s flexible. You can change the cheese, sneak in extras, or make them mild for kids and spicy for adults. Garlic Parmesan Cheeseburger Bombs also reheat well, which is huge if you like easy lunches.
Ingredients Needed
Here’s what I usually grab. I’m keeping it straightforward, but I’ll also mention quick swaps later.
- Ground beef (80 to 90 percent lean works great)
- Salt and black pepper
- Garlic powder and onion powder
- A little Worcestershire sauce (optional but adds that “burger” taste)
- Cheese (cheddar cubes are my favorite, but mozzarella works too)
- Refrigerated biscuit dough or pizza dough (biscuit dough is easiest)
- Butter
- Fresh garlic, minced (or garlic paste)
- Parmesan cheese, finely grated
- Parsley (optional, but pretty)
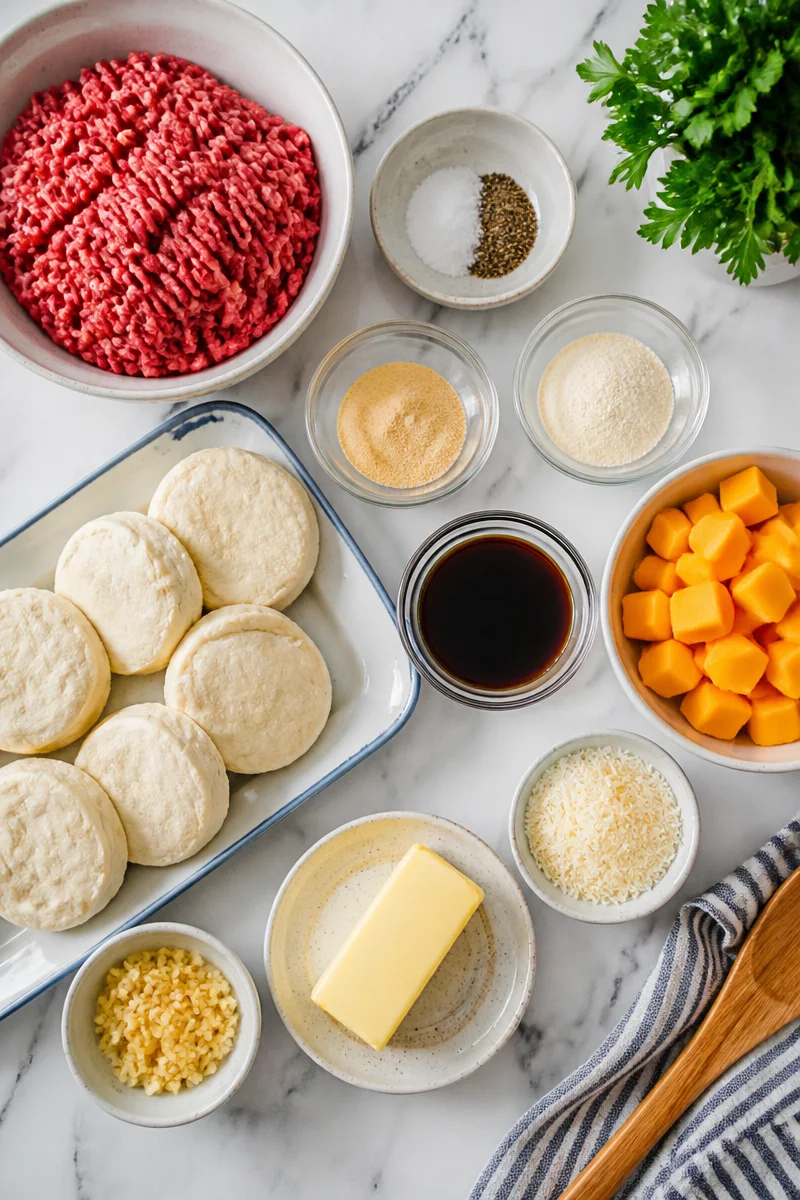
Quick note on cheese: cubes melt slower than shredded cheese, so you’re less likely to have cheese escape all over the pan. If shredded is what you have, it still works, just pack it in well and seal the dough tightly.
Step-by-Step Instructions
1) Cook the filling
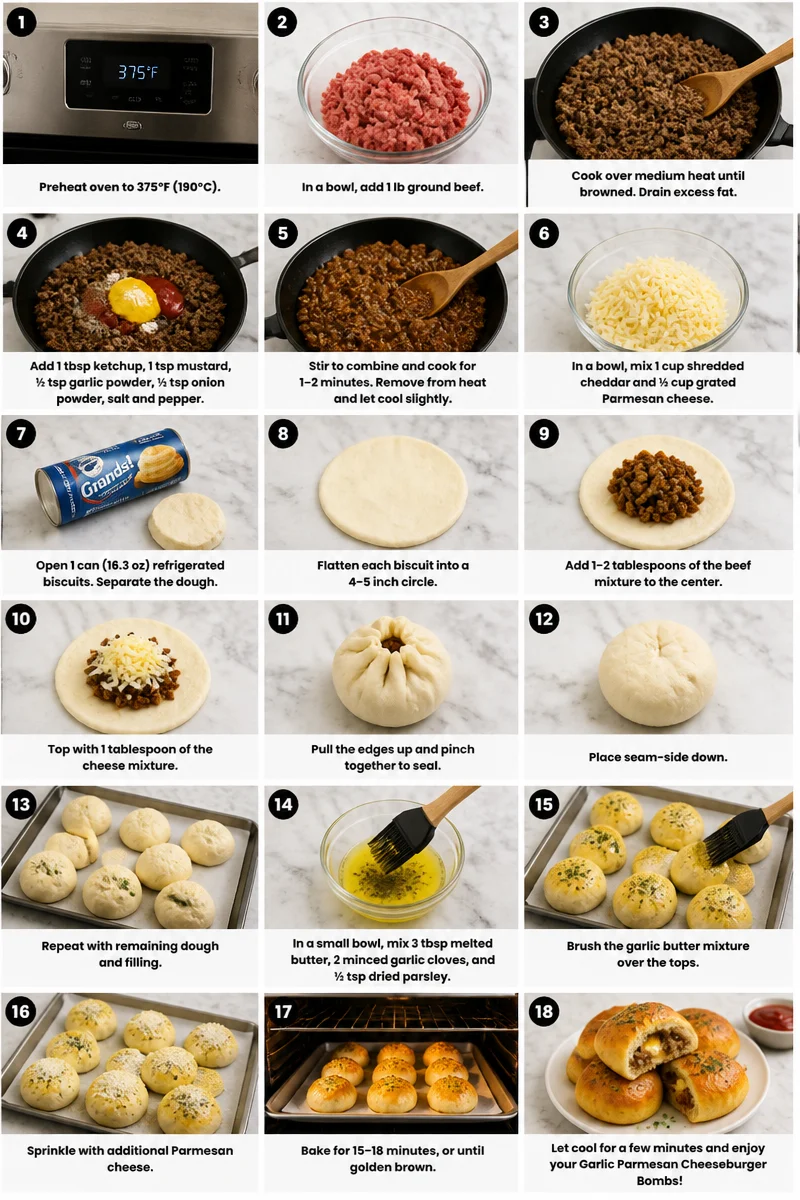
Preheat your oven to 375 F (or follow your dough package temp if it’s different). Brown the ground beef in a skillet over medium heat. Break it up small, then season with salt, pepper, garlic powder, onion powder, and a small splash of Worcestershire if you’re using it.
Once the beef is cooked through, drain any extra grease. Let the meat cool for a few minutes. If it’s piping hot when you stuff the dough, it can make the dough sticky and harder to seal.
2) Stuff and seal
Separate your biscuit dough pieces (or cut pizza dough into equal portions). Flatten each piece into a small round, about the size of your palm. Add a spoonful of beef in the center, then place a cube of cheese on top.
Pull the dough up and around the filling. Pinch the seams closed really well. I like to roll it gently in my hands seam side down to help it stay sealed.
3) Bake until golden
Place each bomb seam side down on a lined baking sheet. Give them a little space so they puff up nicely. Bake for about 12 to 16 minutes, depending on your dough, until they’re golden brown on top.
4) Add the garlic Parmesan topping
While they bake, melt butter and mix in minced garlic. As soon as the bombs come out, brush them with the garlic butter and sprinkle generously with Parmesan. If you want, add a little parsley for color.
Let them cool for 5 minutes before serving. The cheese inside is molten and will burn your mouth if you rush it. Ask me how I know.
Tips for the Best Cheeseburger Bombs
These are the little things that make a big difference, especially if it’s your first time.
Seal like you mean it. Any tiny opening can turn into a cheese leak. Pinch the dough closed, then pinch again.
Cool the filling slightly. Warm is fine, but super hot filling makes the dough harder to handle and can soften it too fast.
Use cheese cubes if you can. They stay put better and give you that perfect melty center.
Don’t overstuff. It’s tempting, but too much filling makes them pop open. Think snack size, not full burger size.
Brush after baking. Garlic can burn if it’s baked too long. Brushing the garlic butter on at the end keeps the flavor fresh and bold.
Variations & Substitutions
This recipe is super flexible, which is probably why I never get tired of it.
Different meats: Ground turkey or chicken works great. Just add a bit more seasoning since they’re milder than beef.
Different cheeses: Pepper jack for spice, American for classic burger meltiness, or mozzarella for a stretchy pull.
Add-ins: Tiny diced pickles (pat them dry), cooked bacon bits, or a little sautéed onion. Keep add-ins small so the dough still seals well.
Make it spicy: Add a pinch of crushed red pepper, a dab of hot sauce in the meat, or use jalapeño cheddar.
Dough options: Biscuit dough is easiest, but crescent dough also works. Just wrap carefully since it’s softer.
I’ve even made Garlic Parmesan Cheeseburger Bombs with a little mustard mixed into the beef, and it tastes like a drive-thru burger in the best way.
Serving Suggestions & Dipping Sauces
These are great straight from the pan, but dips make them even more fun. If I’m serving guests, I put out two or three sauces so everyone can mix and match.
- Ketchup or ketchup mixed with a tiny bit of pickle juice
- Classic burger sauce (mayo, ketchup, diced pickles, a little garlic powder)
- Ranch dressing
- Honey mustard
- Warm marinara (sounds odd, tastes amazing with the Parmesan)
For sides, keep it simple. A bagged salad, oven fries, or crunchy pickles on the side make it feel like a full meal without extra work.
Storage and Reheating Instructions
If you have leftovers, you’re lucky. They store better than you’d think.
To store: Let them cool completely, then keep them in an airtight container in the fridge for up to 3 days.
To reheat: The oven or air fryer is best because it brings back that crisp outside. Try 350 F for about 8 to 10 minutes in the oven, or 350 F for 4 to 6 minutes in the air fryer.
Microwave option: It works for speed, but the dough gets softer. If you microwave, do it in short bursts so the cheese doesn’t explode out the side.
Freezing: You can freeze them after baking. Cool completely, wrap well, and freeze up to 2 months. Reheat from frozen at 350 F until hot in the center, usually 15 to 20 minutes.
Print
Garlic Parmesan Cheeseburger Bombs
- Total Time: 31 minutes
- Yield: 12 servings 1x
Description
Handheld pockets of seasoned ground beef and gooey cheese wrapped in dough, baked until golden and topped with buttery garlic Parmesan.
Ingredients
- 1 pound Ground beef (80 to 90 percent lean)
- Salt and black pepper
- 1 teaspoon Garlic powder
- 1 teaspoon Onion powder
- 1 tablespoon Worcestershire sauce (optional)
- Cheddar cheese cubes (or mozzarella)
- Refrigerated biscuit dough (or pizza dough)
- 2 tablespoons Butter
- 2 cloves Fresh garlic, minced
- 1/4 cup Parmesan cheese, finely grated
- Parsley (optional)
Instructions
- Preheat your oven to 375°F. Brown the ground beef in a skillet over medium heat. Season with salt, pepper, garlic powder, onion powder, and Worcestershire sauce if using. Drain excess grease.
- Separate your biscuit dough pieces and flatten each into a round. Add a spoonful of beef and cheese in the center. Seal well by pinching the seams.
- Place each bomb seam side down on a lined baking sheet. Bake for 12 to 16 minutes until golden brown.
- While they bake, melt butter and mix in minced garlic. Brush garlic butter on the bombs after baking and sprinkle with Parmesan. Let cool for 5 minutes.
Notes
For best results, seal dough tightly to prevent cheese leakage, use cooled filling, and avoid overstuffing.
- Prep Time: 15 minutes
- Cook Time: 16 minutes
- Category: Appetizer
- Method: Baking
- Cuisine: American
Nutrition
- Serving Size: 1 bomb
- Calories: 300
- Sugar: 1g
- Sodium: 450mg
- Fat: 20g
- Saturated Fat: 10g
- Unsaturated Fat: 8g
- Trans Fat: 0g
- Carbohydrates: 12g
- Fiber: 1g
- Protein: 18g
- Cholesterol: 35mg
Frequently Asked Questions
Can I make Garlic Parmesan Cheeseburger Bombs ahead of time?
Yes. You can cook the beef filling a day ahead and keep it in the fridge. Then stuff and bake when you’re ready. I think they’re best baked fresh, but prepping the filling saves a lot of time.
Why did my bombs leak cheese?
Usually it’s a sealing issue or overstuffing. Use a little less filling and really pinch the seams shut. Cheese cubes also help compared to shredded cheese.
What’s the best cheese to use?
Cheddar is my go-to for that classic burger flavor. American melts super smooth, and pepper jack is great if you like heat. Use what you love and what you have.
Can I cook these in an air fryer?
Yes, but work in batches. Air fry at 350 F and start checking around 7 to 9 minutes, depending on your dough size. Brush the garlic butter and Parmesan on after they’re done.
How do I know they’re fully cooked?
The tops should be deep golden and the dough should feel set, not squishy. If you’re unsure, pop one open and check that the dough inside isn’t raw.
Conclusion
Garlic Parmesan Cheeseburger Bombs are one of those recipes that make people wander into the kitchen and ask what smells so good. You get juicy seasoned beef, melty cheese, and that buttery garlic Parmesan top in one easy bite. Keep the sealing tight, don’t overstuff, and brush the topping on while they’re hot. If you try them, make a double batch because they disappear fast. I really hope you make these soon and enjoy every cheesy, garlicky bite.