There’s a certain magic that happens when you combine two favorite foods into one delicious dish. Imagine juicy taco flavors melding perfectly with cheesy pizza goodness. Yes, you guessed it! We’re diving into the delightful world of Cheesy Taco Pizza, a recipe that offers a twist on your traditional pizza night and is sure to please the whole family. Whether it’s for a game day, a casual Friday night, or just a fun Tuesday when you crave something different, this dish is all about making things exciting.
Print
Cheesy Taco Pizza
- Total Time: 35 minutes
- Yield: 4 servings 1x
Description
A delicious fusion of taco flavors and cheesy pizza goodness, perfect for family nights or gatherings.
Ingredients
- 1 pre-made pizza crust
- 1 cup shredded cheddar cheese
- 1 cup shredded mozzarella cheese
- 1 pound ground beef (or chicken, turkey, or plant-based alternative)
- 1 packet taco seasoning (or homemade blend)
- 1/2 cup water
- 1 cup canned black beans, rinsed and drained
- 1 cup corn kernels (frozen or canned)
- 1 cup diced tomatoes
- 1/2 cup chopped red onion
- 1/2 cup sliced black olives (optional)
- 1 avocado, diced
- Fresh cilantro, chopped (for garnish)
- Sour cream or Greek yogurt (optional)
Instructions
- Preheat your oven to 425°F (220°C).
- Brown the ground beef in a skillet over medium heat, breaking it into bite-sized pieces, for about 5-7 minutes.
- Drain excess grease and stir in the taco seasoning and water; let simmer until mostly evaporated (about 5 minutes).
- Prepare your pizza crust according to instructions; roll it out to your desired thickness if homemade.
- Lay the crust on a baking sheet and sprinkle half of the mozzarella and cheddar cheese.
- Spoon the seasoned meat mixture over the cheese, then add black beans and corn, followed by the remaining cheese.
- Bake for 15-20 minutes, or until cheese is bubbling and golden brown.
- Remove from the oven, let cool for a few minutes, and garnish with tomatoes, red onion, black olives, avocado, and fresh cilantro.
Notes
Feel free to experiment with toppings and crust options, such as cauliflower for a low-carb version.
- Prep Time: 15 minutes
- Cook Time: 20 minutes
- Category: Main Course
- Method: Baking
- Cuisine: Mexican
Nutrition
- Serving Size: 1 slice
- Calories: 350
- Sugar: 4g
- Sodium: 600mg
- Fat: 15g
- Saturated Fat: 6g
- Unsaturated Fat: 5g
- Trans Fat: 0g
- Carbohydrates: 40g
- Fiber: 5g
- Protein: 20g
- Cholesterol: 60mg
Ingredients
To craft the perfect Cheesy Taco Pizza, you’ll need a medley of delicious ingredients that bring everything together. Here’s what you’ll need:
For the Pizza Base:
- 1 pre-made pizza crust (store-bought or homemade)
- 1 cup shredded cheddar cheese
- 1 cup shredded mozzarella cheese
For the Taco Filling:
- 1 pound ground beef (or chicken, turkey, or plant-based alternative)
- 1 packet taco seasoning (or homemade blend)
- 1/2 cup water
- 1 cup canned black beans, rinsed and drained
- 1 cup corn kernels (frozen or canned)
For Toppings:
- 1 cup diced tomatoes
- 1/2 cup chopped red onion
- 1/2 cup sliced black olives (optional)
- 1 avocado, diced
- Fresh cilantro, chopped (for garnish)
- Sour cream or Greek yogurt (optional)
Feel free to experiment with substitutions! If you’re vegetarian, swap the meat for more beans or veggies. For a low-carb option, use a cauliflower crust.
Timing
Preparation for this Cheesy Taco Pizza will take about 15 minutes, while cooking it will take an additional 15-20 minutes. In a mere 35-40 minutes, you’ll have a scrumptious pizza ready to devour! This means you can have a delightful meal on the table in no time, perfect for busy weeknights or impromptu gatherings.
How to Make Cheesy Taco Pizza
Step 1: Preheat your oven to 425°F (220°C). This temperature allows the crust to crisp up nicely, ensuring a great texture for your pizza.
Step 2: In a skillet over medium heat, brown your ground beef. Use a spatula to break it up into bite-sized pieces. Make sure it’s cooked through, about 5-7 minutes.
Step 3: Once the meat is cooked, drain any excess grease. Stir in the taco seasoning and water, mixing well. Allow the mixture to simmer until the water has mostly evaporated, roughly 5 minutes.
Step 4: While the meat simmers, prepare your pizza crust. If you’re using a store-bought crust, follow package instructions—some may require pre-baking. If it’s homemade, roll it out to your desired thickness and shape.
Step 5: Lay your crust on a baking sheet or pizza stone. Start layering your pizza by sprinkling half of the mozzarella and cheddar cheese first. This helps the toppings stick better.
Step 6: Spoon the seasoned meat mixture evenly over the cheese, followed by the black beans and corn. Then, sprinkle the remaining cheese on top, ensuring it’s fully covered for that gooey deliciousness.
Step 7: Bake the pizza in the oven for about 15-20 minutes, or until the cheese is bubbling and golden brown.
Step 8: When it’s done, remove the pizza from the oven and let it cool for a few minutes. Then, garnish your masterpiece with diced tomatoes, red onion, black olives, and avocado. Finish it off with a sprinkle of fresh cilantro.
Healthier Alternatives
Looking to lighten up this dish? Here are some suggestions:
- Swap ground beef for ground turkey or chicken for a leaner option.
- For a vegetarian twist, replace meat with a mix of peppers, mushrooms, and zucchini.
- Use low-fat cheese alternatives to cut down on calories, or try nutritional yeast for a cheesy flavor without dairy.
- If gluten is a concern, make or buy a gluten-free crust to enjoy this fantastic pizza!
Serving Suggestions
The colorful toppings on this Cheesy Taco Pizza mean that it practically begs to be served with flair. Idea include:
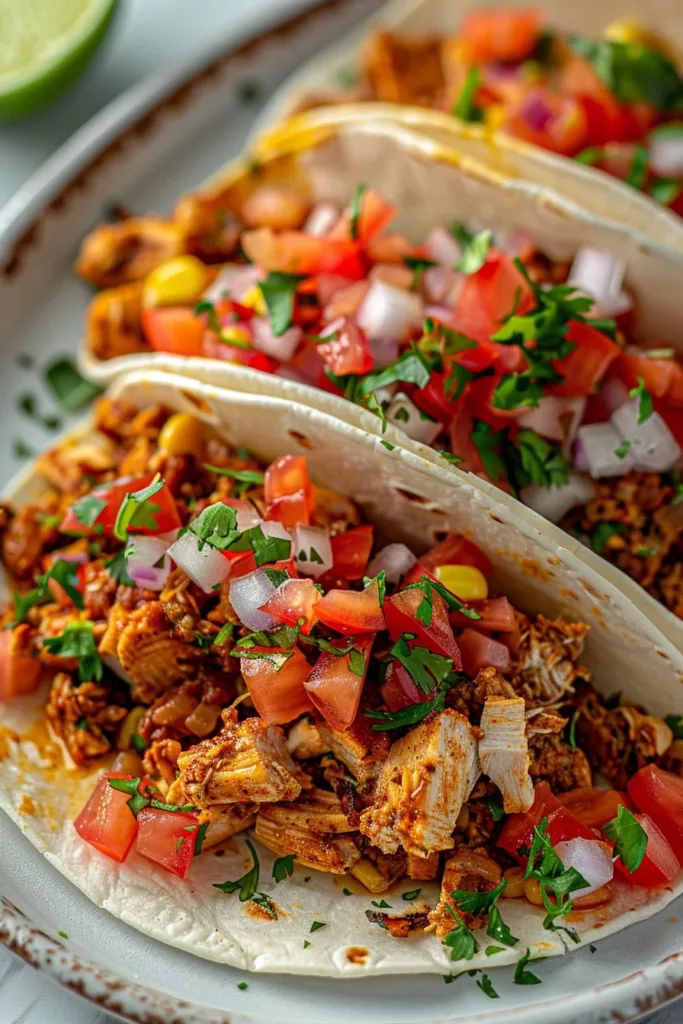
- Pair your pizza with a side of Mexican-style street corn (Elote) for a perfect touch.
- For a refreshing drink, consider serving a chilled iced tea or herbal fruit spritzer.
- Plating can be enhanced by serving individual slices on colorful plates and garnishing each with a dollop of sour cream or Greek yogurt.
Common Mistakes to Avoid
- Don’t skip preheating the oven; this ensures a crispy crust.
- Avoid cooking the meat at too high a heat, as this can dry it out. Medium heat works best for ensuring even cooking.
- Overloading the pizza with toppings can cause it to become soggy, so stick to a moderate amount for the best results.
- Make sure to allow the pizza to cool for a few minutes before slicing. This will prevent the toppings from sliding off!
Storage Tips
Leftovers? No problem! Here are some simple storage tips:
- Store any leftover pizza in an airtight container in the fridge for up to 3 days.
- For longer storage, wrap slices tightly with plastic wrap and freeze for up to 2 months.
- Reheat slices in the oven (for about 10-15 minutes at 375°F) to maintain the crust’s crispiness. If you’re in a hurry, the microwave works too—just be cautious as it can make the crust chewy.
FAQs About Cheesy Taco Pizza
Can I make Cheesy Taco Pizza with a cauliflower crust?
Absolutely! A cauliflower crust is a fantastic low-carb alternative that pairs wonderfully with the toppings of this pizza.
How can I adjust the spice level of the taco filling?
To adjust the spice level, you can choose a mild taco seasoning packet or add less of your chosen seasoning. Additionally, using ground chicken or turkey will also tone down any strong flavors.
Can I prepare the pizza in advance?
Yes, you can prepare the toppings and store them separately in the fridge. Assemble and bake the pizza right before serving for the best texture.
What can I use instead of ground beef?
You can substitute ground beef with chicken, turkey, or plant-based crumbles for a vegetarian option.
How do I know when the pizza is done?
The pizza is done when the cheese is bubbly and starts to brown on the edges, and the crust is golden and crispy.
Conclusion
Now that you know how to whip up a delectable Cheesy Taco Pizza, it’s time to get into your kitchen and embrace the fun of cooking. This dish not only combines the beloved flavors of tacos and pizza but also offers the flexibility to cater to different diets and preferences. So why not give it a try and see how it dazzles at your next meal?