Imagine this: You’ve got a few apples sitting on your counter, and you’re not quite sure what to do with them. Sure, you could slice them up and call it a day, but what if I told you there’s a way to transform those ordinary fruits into a warm, sweet treat with a hint of crunch? That’s where air fryer apples come into play! With a little bit of cinnamon and perhaps some nuts, you can whip up this delightful dessert in no time. Perfect as a comforting snack or a sophisticated side dish, they offer great flavor without the fuss. Let’s dive into how you can create this simple yet delicious recipe that highlights the natural sweetness of apples.
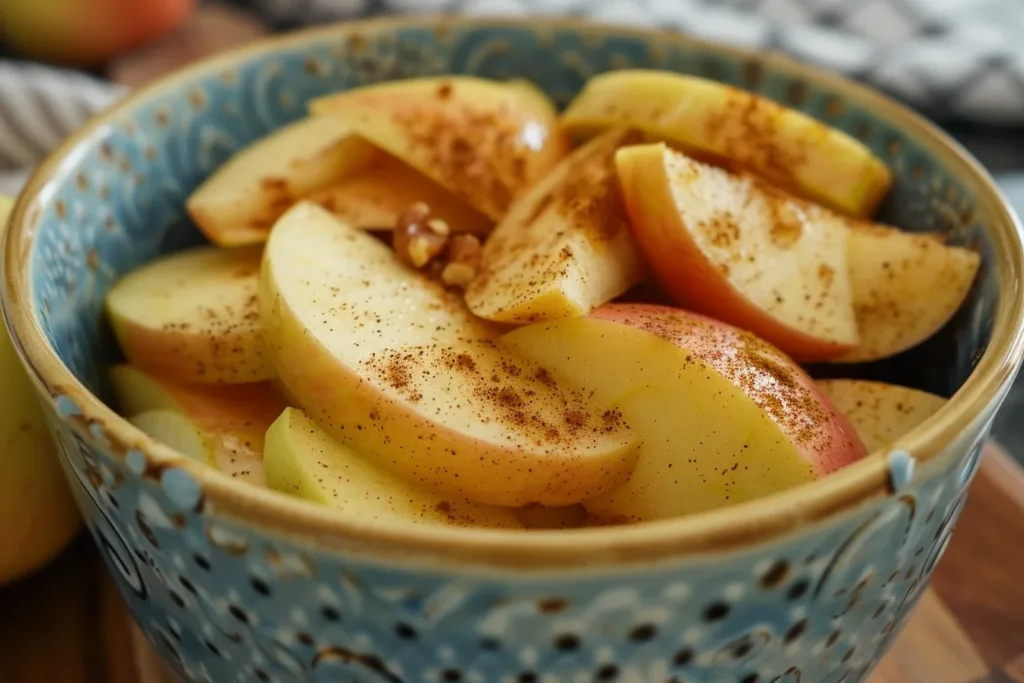
Ingredients
To start your culinary adventure with air fryer apples, gather the following ingredients:
- 4 medium-sized apples (like Granny Smith, Honeycrisp, or Fuji)
- 2 tablespoons butter (or a vegan alternative)
- 2 teaspoons cinnamon
- 2 tablespoons brown sugar (or coconut sugar for a healthier option)
- ½ cup chopped pecans or walnuts (optional)
- 1 teaspoon vanilla extract
- A pinch of salt
If you’re feeling adventurous, you can also add raisins or cranberries for a burst of tartness, or even some oats to create a heartier dish.
Timing
Now, let’s talk timing. Preparing air fryer apples is remarkably quick and efficient:
- Prep Time: 10 minutes
- Cook Time: 15 minutes
- Total Time: 25 minutes
Got a busy schedule? You can peel and slice your apples ahead of time; just toss them in a bit of lemon juice to keep them from browning. This little trick can save you time on those hectic weeknights!
How to Make Air Fryer Apples
Ready to bring those apples to life? Follow these steps for a delicious outcome:
Step 1: Start by washing and peeling the apples. Once that’s done, slice them into even wedges, about ¼-inch thick. Keep your pieces uniform to ensure they cook evenly.
Step 2: In a large mixing bowl, combine the sliced apples, melted butter, cinnamon, brown sugar, vanilla extract, and the salt. If you’d like to add nuts, this is the moment to include them. Toss everything gently to coat the apples thoroughly with the mixture. Feel free to give it a taste—you might want to add a bit more cinnamon or sugar based on your preferences.
Step 3: Preheat your air fryer to 350°F (175°C). Once preheated, lay out the coated apple slices in a single layer in the air fryer basket. Avoid overcrowding; if necessary, cook in batches to achieve that perfect crisp.
Step 4: Set the timer for 15 minutes. Halfway through cooking, you’ll want to shake the basket to ensure even cooking. You can also give the apples a gentle toss with a spatula at this stage to flip them over.
Step 5: As your apples cook, keep an eye on them. Cooking times can vary by air fryer brand, so adjust as necessary. They should be tender and slightly caramelized when you take them out.
Step 6: Let them cool for a few minutes before serving. These air fryer apples are scrumptious on their own or served alongside vanilla ice cream or yogurt for an extra special treat.
Healthier Alternatives
If you’re looking to adapt this recipe for special dietary needs, there are plenty of ways to modify it:
- For a vegan option, simply swap the butter for a plant-based alternative like coconut oil or vegan butter.
- If you’re following a low-carb or keto diet, substitute the brown sugar with a sweetener like erythritol or stevia.
- For a gluten-free version, ensure that any additional ingredients, such as oats or nuts, are certified gluten-free.
Serving Suggestions
Air fryer apples are delightfully versatile. Here are some creative ways to serve them:
- Top them with a scoop of vanilla ice cream for a warm and cold treat.
- Drizzle with caramel sauce or honey for an extra indulgent flair.
- Serve with a dollop of whipped cream or yogurt as a breakfast option.
- Pair with savory dishes; they complement meats like roasted chicken or turkey beautifully.
To enhance presentation, consider serving in a beautiful bowl, garnished with a sprinkle of cinnamon or a few extra nuts.
Common Mistakes to Avoid
Even the best of us have kitchen slip-ups! Here are some common pitfalls and how to avoid them:
- Cutting apples inconsistently: This can lead to uneven cooking. Always try to slice your apples uniformly.
- Overcrowding the air fryer: Add too many apples at once, and you might end up with soggy pieces instead of crispy ones. If necessary, cook in small batches.
- Not preheating the air fryer: Preheating helps achieve that crispy texture. Make sure to take this step seriously!
Storage Tips
If you happen to have leftovers or want to prep ahead, here’s how to store your air fryer apples properly:
- Refrigerator: Store any leftover apples in an airtight container in the fridge. They should remain fresh for up to 3 days.
- Freezer: For longer storage, freeze in a single layer on a baking sheet before transferring to a freezer bag. This will keep them from clumping together, and they’ll last for about 2 months.
- Reheating: To reheat, simply pop them back into the air fryer for a few minutes until warmed through. Alternatively, you can use the microwave, but the air fryer will maintain that crispy texture better.

Air Fryer Apples
- Total Time: 25 minutes
- Yield: 4 servings 1x
Description
Transform ordinary apples into a warm, sweet treat with a hint of crunch using an air fryer. This simple recipe highlights the natural sweetness of apples, making it a perfect snack or side dish.
Ingredients
- 4 medium-sized apples (like Granny Smith, Honeycrisp, or Fuji)
- 2 tablespoons butter (or a vegan alternative)
- 2 teaspoons cinnamon
- 2 tablespoons brown sugar (or coconut sugar for a healthier option)
- ½ cup chopped pecans or walnuts (optional)
- 1 teaspoon vanilla extract
- A pinch of salt
Instructions
- Start by washing and peeling the apples. Once that’s done, slice them into even wedges, about ¼-inch thick.
- Combine the sliced apples, melted butter, cinnamon, brown sugar, vanilla extract, and the salt in a large mixing bowl. Toss to coat the apples thoroughly.
- Preheat your air fryer to 350°F (175°C).
- Lay out the coated apple slices in a single layer in the air fryer basket, avoiding overcrowding.
- Set the timer for 15 minutes, shaking the basket halfway through for even cooking.
- Let them cool for a few minutes before serving. Enjoy them on their own or with vanilla ice cream or yogurt.
Notes
For a vegan option, swap butter for plant-based alternatives. Consider additions like raisins, cranberries, or oats for extra flavor and texture. Store leftovers in an airtight container in the fridge for up to 3 days, or freeze for longer storage.
- Prep Time: 10 minutes
- Cook Time: 15 minutes
- Category: Dessert
- Method: Air Frying
- Cuisine: American
Nutrition
- Serving Size: 1 serving
- Calories: 250
- Sugar: 10g
- Sodium: 150mg
- Fat: 9g
- Saturated Fat: 4g
- Unsaturated Fat: 5g
- Trans Fat: 0g
- Carbohydrates: 37g
- Fiber: 4g
- Protein: 2g
- Cholesterol: 15mg
Frequently Asked Questions
Can I use any type of apple for this recipe?
Yes! While some apple varieties are better suited for baking due to their sweetness and texture, you can use any apple you prefer. Just keep in mind that different apples will yield different flavor profiles.
How can I make this dish less sweet?
If you’re looking to tone down the sweetness, simply reduce the amount of brown sugar or replace it with a low-calorie sweetener. You can also skip the sugar entirely and enhance the apple flavor with more spices.
Can I add other fruits?
Definitely! Fresh berries, pears, or even peaches can be great additions or substitutes. Just be mindful of their cooking times, as softer fruits may require less cooking.
What type of air fryer is best for this recipe?
Most air fryers will work well, but models with adjustable temperature settings are ideal for achieving the best results. Look for one with a basket that makes it easy to shake or stir the food during cooking.
Is this recipe suitable for meal prep?
Absolutely! Air fryer apples store well in the fridge and can be reheated easily. They make a great snack or dessert later in the week, allowing for quick and healthy meals.
Conclusion
Air fryer apples offer a delightful combination of sweetness, crunch, and warmth that’s not only easy to prepare but incredibly satisfying. Whether you’re enjoying them solo or as a complement to your meals, you can’t go wrong with this treat. So, why not give this recipe a try? Your taste buds will thank you, and you might just find yourself making them regularly. Don’t forget to explore other related recipes on our blog!