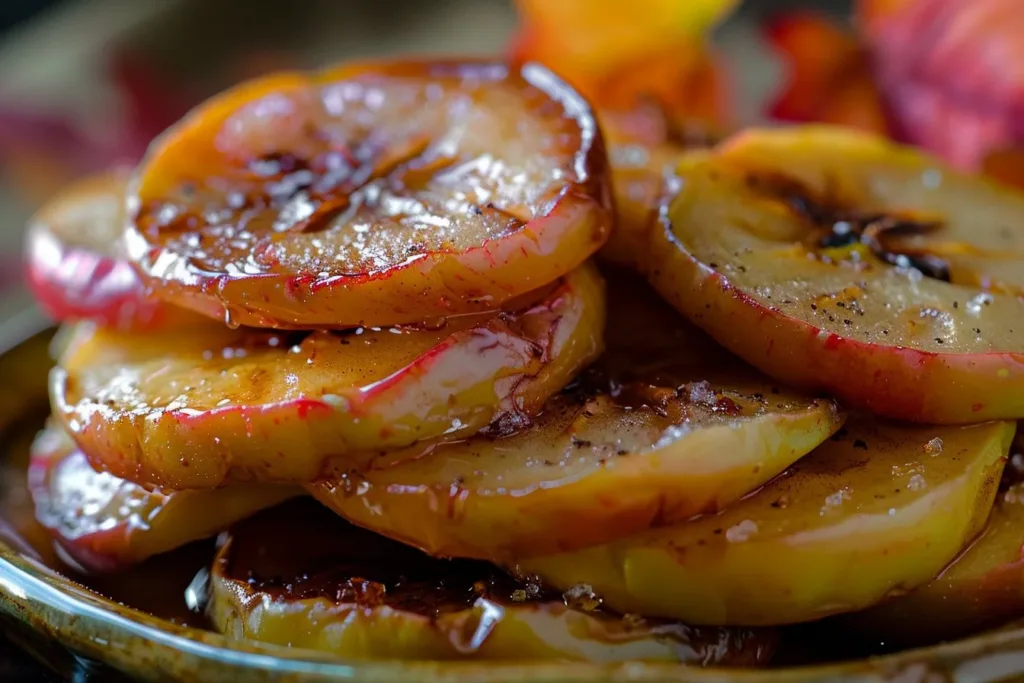
Do you ever find yourself longing for that perfect crunch mixed with a sweet, gooey finish? If you’re nodding your head, then candied apple slices might just be the treat you didn’t know you were craving. This nostalgic snack combines the delightful taste of caramelized sugar with the fresh, crisp bite of apples. Not only are they a fun treat for any gathering, but they also offer a cheerful burst of color that appeals to everyone, from kids to adults. Plus, with a few simple steps, you can whip them up in no time. Let’s dive into how to make these delectable bites.
Ingredients
To create the perfect candied apple slices, gather the following ingredients:
- 2 large apples (Granny Smith, Honeycrisp, or your favorite)
- 1 cup granulated sugar
- ¼ cup water
- 1 teaspoon lemon juice
- ½ teaspoon cinnamon (optional, for added flavor)
- Wooden skewers or toothpicks
- Optional toppings: chopped nuts, sprinkles, or coconut flakes
If you’re not keen on sugar, you can try using coconut sugar or even agave syrup to give your slices a healthier twist. Additionally, for a vegan option, ensure that any toppings you use are free from animal products.
Timing
Here’s a quick rundown on the time you’ll need for this recipe:
- Prep Time: 10 minutes
- Cooking Time: 15 minutes
- Total Time: 25 minutes
Candied apple slices are a relatively quick treat, making them perfect for last-minute snack cravings or party preparations. Just think about it—you can have a delicious dessert ready before your favorite show starts!
How to Make Candied Apple Slices
Creating your own candied apple slices is easier than you might think. Follow these steps for sweet success.
Step 1: Start by washing your apples thoroughly. If you prefer a more refined look, peel them, though leaving the skin adds a nice color and additional nutrients. Next, slice your apples into even wedges or rounds, making sure they’re about ¼ to ½ inch thick for optimal candy coverage.
Step 2: Prepare your workspace. Line a baking sheet with parchment paper to prevent the slices from sticking once they’re coated. This will save you a lot of cleanup time later.
Step 3: In a saucepan, combine the sugar, water, and lemon juice. Stir over medium heat until the sugar dissolves completely. If you’re opting for cinnamon, add it to the mixture at this stage to infuse your candy with that warm flavor.
Step 4: Increase the heat to medium-high and allow the mixture to boil without stirring. Keep an eye on it—sugar can go from perfectly cooked to burned in seconds! You want it to reach the hard crack stage, around 300°F (150°C). Use a candy thermometer for accuracy if you have one.
Step 5: Once the candy reaches the desired temperature, remove it from the heat. Immediately dip each apple slice into the candy coating. Use a fork or skewer to help maneuver them without burning your fingers. Swirl them until they’re evenly coated, and then place them on the parchment-lined baking sheet.
Step 6: Let the candied apple slices cool for a few minutes. If you’re adding toppings, sprinkle them on while the candy is still warm so they stick well.
Healthier Alternatives if Needed
If you’re looking to make these treats a bit healthier, consider these alternatives:
- Swap out regular sugar for honey or maple syrup for a more natural sweetener.
- Opt for apple slices dipped in yogurt or sugar-free chocolate for a twist on the traditional candy.
- Use air-fried apple slices instead of frying them in sugar to keep sugar levels down, though it will alter the texture a bit.
Serving Suggestions
When it comes to serving your delicious candied apple slices, the options are practically endless! You can serve them on a festive platter with a variety of toppings to create a fun garnish station. Pair them with hot chocolate or apple cider for a cozy evening treat, or serve them as part of a dessert buffet at birthday parties and gatherings. Presentation can elevate the experience, so consider arranging them on a cake stand or skewering them onto pretzel sticks for easy handling.
Common Mistakes to Avoid
As with any recipe, there are common pitfalls that can ruin your candied apple slices. Here are a few to watch out for:
Not using a candy thermometer: It’s crucial to ensure the candy reaches the correct temperature to achieve that hard crack. Without it, you may find yourself with a sticky mess instead of a satisfying crunch.
Overcrowding the saucepan: If you’re making a large batch, work in smaller groups. Adding too many slices at once can lower the candy’s temperature and lead to uneven coating.
Not allowing them to cool: Patience is key! Allowing them to cool completely will make sure the candy hardens correctly and doesn’t become sticky.
Storage Tips
These delightful treats can be stored for a short while—ideally, you should enjoy them fresh. However, if you have leftovers, follow these storage tips:
Refrigerator: Keep candied apple slices in an airtight container lined with parchment paper to prevent sticking. They’ll last about 2-3 days before losing their crispness.
Freezer: You can freeze them for longer storage, but be aware that the texture might change. Store them in a single layer in a freezer bag, separated by parchment paper. They should last up to a month.

Candied Apple Slices
- Total Time: 25 minutes
- Yield: 4 servings 1x
Description
Delightful candied apple slices featuring a crunchy exterior and a sweet, gooey finish. Perfect for gatherings and easy to make.
Ingredients
- 2 large apples (Granny Smith, Honeycrisp, or your favorite)
- 1 cup granulated sugar
- ¼ cup water
- 1 teaspoon lemon juice
- ½ teaspoon cinnamon (optional)
- Wooden skewers or toothpicks
- Optional toppings: chopped nuts, sprinkles, or coconut flakes
Instructions
- Wash the apples thoroughly. Slice them into wedges or rounds, about ¼ to ½ inch thick.
- Prepare your workspace by lining a baking sheet with parchment paper.
- Combine the sugar, water, and lemon juice in a saucepan. Stir over medium heat until the sugar dissolves.
- Increase the heat to medium-high and boil the mixture until reaching the hard crack stage at around 300°F (150°C).
- Remove the candy from heat and dip each apple slice into the coating.
- Let the candied slices cool and add any optional toppings while the candy is still warm.
Notes
These slices are best enjoyed fresh, but can be stored in an airtight container for 2-3 days in the fridge.
- Prep Time: 10 minutes
- Cook Time: 15 minutes
- Category: Dessert
- Method: Baking
- Cuisine: American
Nutrition
- Serving Size: 1 serving
- Calories: 150
- Sugar: 28g
- Sodium: 5mg
- Fat: 0g
- Saturated Fat: 0g
- Unsaturated Fat: 0g
- Trans Fat: 0g
- Carbohydrates: 38g
- Fiber: 2g
- Protein: 1g
- Cholesterol: 0mg
Frequently Asked Questions
How do I choose the best apples for candied apple slices?
The best apples are those that balance sweetness and tartness, like Granny Smith or Honeycrisp. Their firm texture also holds up well when being dipped in candy.
Can I use other fruits for this recipe?
Absolutely! Pears, bananas, or even strawberries can work well with the same candy coating. Just be mindful of their cooking times, as softer fruits may require less time in the candy.
What should I do if my candy ends up too sticky?
If the candy comes out sticky, you likely didn’t reach the hard crack stage while cooking. In this case, you can try re-melting the candy with a touch more water, but it may still not yield the ideal crispiness.
How can I prevent the apples from browning?
To prevent browning before you dip the apple slices, you can soak them in a mixture of water and a splash of lemon juice. This keeps them looking fresh and appetizing.
Can these be made in advance?
While it’s best to enjoy candied apple slices fresh, you can prepare the apple slices ahead of time and dip them on the day of your event. This ensures they’re crunchy and delicious when served.
Conclusion
Candied apple slices are a timeless treat that encapsulates the sweet, nostalgic flavors of fall and festivities. They’re not only easy to make but also versatile enough to suit any palate. Whether you’re preparing for a party, a family gathering, or a cozy night in, this simple yet delicious recipe is sure to impress. So grab those apples and create something delightful today!