Making your own spreadable delights is not just a way to sweeten your mornings; it’s a delightful journey into the world of flavors and creativity. Have you ever tasted a homemade apple jam that bursts with flavor and warms your heart? Those glossy, glistening jars of apple goodness, lined up proudly in your pantry, can make even the dreariest of mornings sparkle. Whether you’re slathering it on toast, dolloping it on pancakes, or simply savoring it straight from the jar, this homemade apple jam is a game-changer. Let’s dive into how to make this scrumptious treat!
Print
Homemade Apple Jam
- Total Time: 65 minutes
- Yield: Approximately 6–8 jars 1x
Description
Delight in the warm, flavorful experience of homemade apple jam, perfect for spreading on toast or pancakes.
Ingredients
- 6 cups of chopped apples (mix of sweet and tart)
- 4 cups of granulated sugar
- 1 cup of water
- 1 tablespoon of freshly squeezed lemon juice
- 1 teaspoon of ground cinnamon (optional)
- 1 packet of fruit pectin
- 1/2 teaspoon of salt
Instructions
- Start by thoroughly washing the apples to remove any dirt or wax. Peel, core, and chop them into small pieces.
- In a large pot, combine the chopped apples and water. Bring this mixture to a gentle boil over medium heat, stirring occasionally.
- Once the apples are tender (about 10 minutes), add the granulated sugar, lemon juice, and salt. Stir well until the sugar dissolves completely.
- Add the packet of fruit pectin and, if desired, the ground cinnamon. Continue cooking on medium-high heat, stirring constantly until it comes to a rolling boil.
- Allow the jam to boil hard for one minute to thicken it.
- Check the jam’s consistency by spooning a small amount onto a cold plate. If it holds its shape, you’re ready to jar.
- Carefully ladle the hot jam into sterilized jars, filling them to about 1/4 inch from the top. Wipe the rim of each jar and seal tightly with lids.
- To preserve the jam, process the jars in a boiling water bath for about 5-10 minutes.
Notes
Consider using sugar alternatives for a healthier version; all ingredients are gluten-free.
- Prep Time: 20 minutes
- Cook Time: 45 minutes
- Category: Preserves
- Method: Canning
- Cuisine: American
Nutrition
- Serving Size: 1 tablespoon
- Calories: 100
- Sugar: 20g
- Sodium: 45mg
- Fat: 0g
- Saturated Fat: 0g
- Unsaturated Fat: 0g
- Trans Fat: 0g
- Carbohydrates: 26g
- Fiber: 1g
- Protein: 0g
- Cholesterol: 0mg
Ingredients
To whip up your homemade apple jam, here’s what you’ll need:
- 6 cups of chopped apples (choose a mix of sweet and tart varieties like Fuji or Granny Smith)
- 4 cups of granulated sugar
- 1 cup of water
- 1 tablespoon of lemon juice (freshly squeezed for that zesty kick)
- 1 teaspoon of ground cinnamon (optional, but highly recommended)
- 1 packet of fruit pectin (like Sure-Jell)
- 1/2 teaspoon of salt
Substitutions and Optional Ingredients
For those looking to switch things up or needing alternatives, here are a few ideas:
- Use half the sugar by substituting with a sugar alternative like Stevia or monk fruit sweetener.
- For a chunkier jam, consider adding in finely chopped nuts or raisins.
- Infuse a unique flavor by incorporating fresh herbs like mint or thyme.
Timing
When it comes to homemade apple jam, preparation and cooking time are straightforward:
- Prep time: 20 minutes
- Cooking time: 45 minutes
- Total time: 1 hour and 5 minutes
With a little patience, you’ll be rewarded with jars of deliciousness.
How to Make Homemade Apple Jam
Step 1: Start by thoroughly washing the apples to remove any dirt or wax. Peel, core, and chop them into small pieces to enhance the texture of your jam.
Step 2: In a large pot, combine the chopped apples and water. Bring this mixture to a gentle boil over medium heat, stirring occasionally. This helps the apples to soften beautifully and release their natural juices.
Step 3: Once the apples are tender (about 10 minutes), add the granulated sugar, lemon juice, and salt. Stir well until the sugar dissolves completely.
Step 4: Now it’s time to amp up the flavor! Add the packet of fruit pectin and, if desired, the ground cinnamon. Continue cooking the mixture on medium-high heat, stirring constantly until it comes to a rolling boil that cannot be stirred down. This usually takes about 5-10 minutes.
Step 5: Allow the jam to boil hard for one minute. This process helps to thicken the jam while creating that perfect gel-like consistency.
Step 6: After boiling, remove the pot from the heat. Check the jam’s consistency by spooning a small amount onto a cold plate. If it holds its shape and doesn’t run, you’re ready for the next step. If not, return to heat and boil for another minute.
Step 7: Carefully ladle the hot jam into sterilized jars, filling them to about 1/4 inch from the top. Wipe the rim of each jar to remove any residue, and seal tightly with lids.
Step 8: To preserve the jam for longer, process the jars in a boiling water bath for about 5-10 minutes. Once done, let the jars cool at room temperature, and you’ll hear the satisfying “pop” as they seal.
Healthier Alternatives
For those considering healthier choices, it’s easy to make your homemade apple jam align with specific diets. To create a low-sugar version, you can reduce the sugar content or use fruit purees for sweetness, which add a delightful natural flavor. Similarly, a vegan apple jam can easily be made by ensuring all ingredients—especially pectin—are plant-based. Gluten-free is also naturally achieved, as all the components in this recipe are gluten-free.
Serving Suggestions
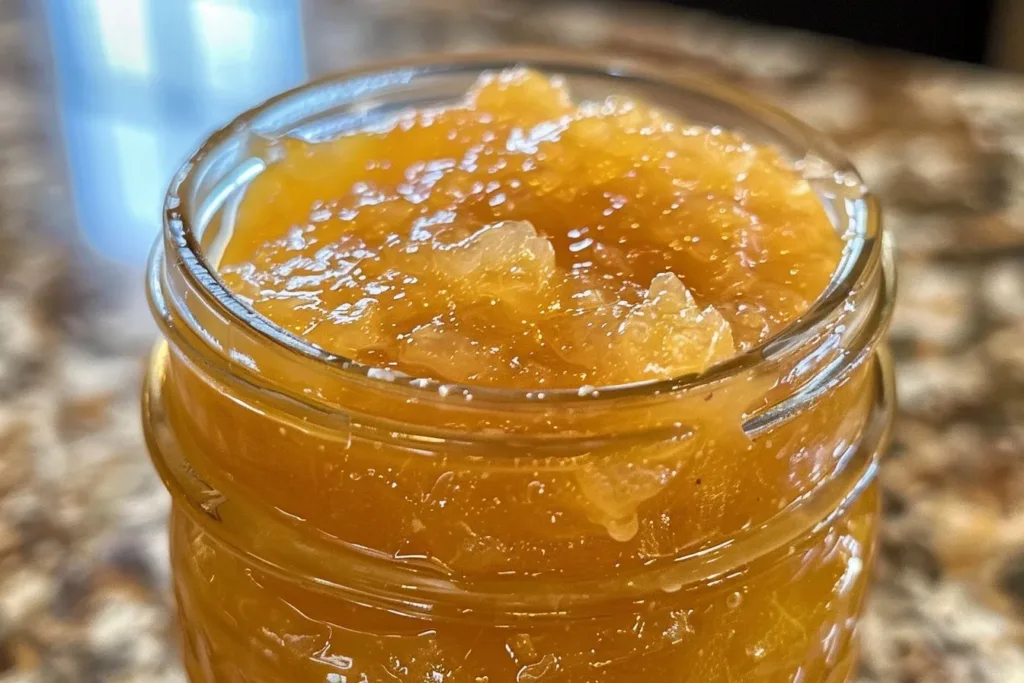
Your homemade apple jam can elevate your breakfast or dessert game in numerous ways. Spread it generously on freshly toasted bread or bagels, and consider pairing it with a creamy cheese like brie or goat cheese for a touch of sophistication. It also makes a perfect filling for pastries, cupcakes, or pancakes. For a refreshing drink accompaniment, serve with iced tea or serve as a topping over yogurt or ice cream.
Common Mistakes to Avoid
While making this delightful jam can be straightforward, a few common pitfalls can diminish your results:
- Not measuring your sugar: Too little sugar can lead to a runny consistency, while too much can make the jam too sweet.
- Using unripe apples: For the best flavor, ensure you use well-ripened apples; under-ripe ones can leave your jam tasting less than desirable.
- Skipping the water bath processing: This critical step ensures your jam can be stored safely for months, so don’t skip it!
Storage Tips
Once your jars of apple jam have cooled and settled, proper storage is essential. Unopened, they can last in a cool, dark place for up to a year. Once opened, keep the jam in the refrigerator, where it should stay fresh for about a month. For longer storage, consider freezing the jam in airtight containers, where it can last up to a year. When ready to use, simply thaw in the fridge overnight, and you’ll have a sweet treat ready to enjoy!
Frequently Asked Questions
Can I use any type of apple for making jam?
Yes, while you can use any apple, a combination of sweet and tart apples—like Fuji and Granny Smith—yields the best flavor.
How do I know when my jam has reached the right consistency?
A good test is to spoon a little warm jam onto a cold plate and let it sit for a minute. If it holds its shape without running, it’s ready to jar!
Is it necessary to add pectin?
No, but pectin helps the jam to set properly. If you prefer a more natural version, you can make it without pectin, though you may need to cook the mixture longer to reach the desired consistency.
How long does homemade apple jam last?
Unopened jars can last up to a year when stored in a cool, dark place. Once opened, store in the refrigerator for about a month.
Can I reduce the sugar in the recipe?
Absolutely! You can reduce the sugar amount or use alternative sweeteners to make a low-sugar version of your apple jam.
Conclusion
Homemade apple jam is an absolute treasure that brings the essence of fall into your home no matter the season. With its simple ingredients and easy instructions, you’ll find not only satisfaction in your efforts but also joy in sharing this delicious product with friends and family. So why wait? Gather your apples, roll up your sleeves, and savor the delightful experience of creating your very own spread.